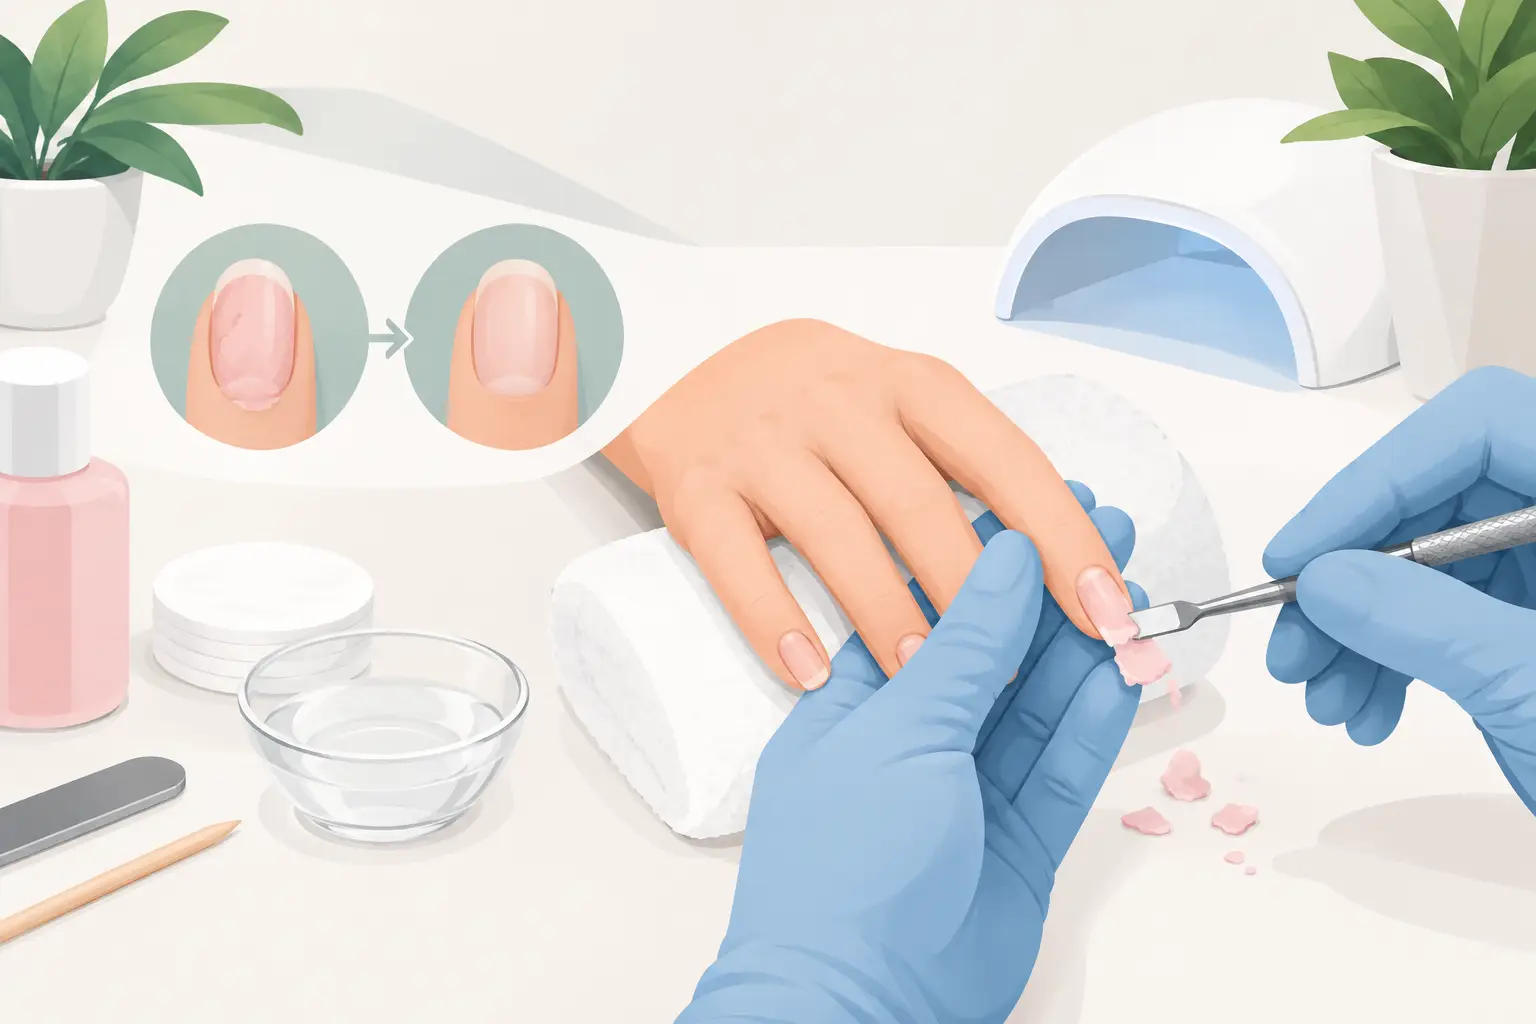
A lifted acrylic corner can be tempting to pick at, especially when a polished set has started to lose its finish. Resist it. A thoughtful guide to safe acrylic removal begins with one principle: the enhancement should release from the nail, never be pulled away from it. Rushing the process can take layers of your natural nail with it, leaving nails thin, tender, and difficult to polish beautifully for weeks.
Acrylic removal is not glamorous, but it is a defining part of a refined nail routine. The right approach protects the strength of the natural nail plate, preserves the look of your hands between appointments, and gives your next manicure a cleaner foundation.
Why Safe Acrylic Removal Deserves Expert Care
Acrylic extensions are designed to adhere firmly. That long-lasting wear is part of their appeal, but it also means removal requires patience, the correct materials, and a light touch. Peeling, prying, clipping aggressively, or forcing product off with a metal tool can cause peeling layers, splits, and surface trauma.
The health of the natural nail matters as much as the finished set. Nails are not meant to be scraped down until they feel paper-thin. A skilled nail professional removes product gradually, watches for lifting or damage underneath, and adjusts the technique to the type of enhancement being worn.
Not every enhancement removes in the same way, either. Traditional acrylic can usually be softened with acetone. Some hard gels, builder gels, and certain extension systems must be filed down rather than soaked off. If you are unsure what was used during your service, professional removal is the most polished and protective choice.
A Guide to Safe Acrylic Removal at Home
A salon appointment is ideal, particularly if your acrylics are thick, long, lifting, or paired with nail art and gel color. However, if you need to remove a set at home, give yourself enough uninterrupted time. This is not a five-minute task, and impatience is where most damage begins.
Prepare a clean, well-ventilated space
Acetone is effective, but it is drying and highly flammable. Keep it away from candles, cigarettes, heat, and open flames. Open a window or choose a well-ventilated room, and protect your table with a towel. If your skin is sensitive, apply a small amount of cuticle oil or petroleum jelly around the skin surrounding each nail, avoiding the acrylic itself.
You will need a coarse nail file, 100 percent acetone, cotton, aluminum foil, an orangewood stick or gentle cuticle pusher, a buffer, cuticle oil, and a rich hand cream. Avoid using sharp tools, dental floss, or anything designed to wedge beneath the acrylic. These shortcuts can separate product from the nail before it has softened, taking the upper nail layers with it.
Reduce the length and break the top seal
If your extensions are long, carefully shorten the free edge with a nail clipper made for artificial nails or file down the length first. Do not clip too close to your natural nail. The goal is to reduce bulk, not to create pressure that cracks the enhancement or strains the nail beneath it.
Next, file away the glossy topcoat and as much color as possible. This step is often skipped, but it makes a meaningful difference. The shine acts as a barrier; removing it allows acetone to penetrate the acrylic more effectively. File with controlled, even strokes and stop well before reaching the natural nail.
Soak in stages, never by force
Saturate a small piece of cotton with acetone, place it directly over the acrylic, and wrap the fingertip securely in foil. Repeat on each nail. Let the wraps sit for approximately 15 to 20 minutes.
When you unwrap one nail, the acrylic should appear softened, lifted, or slightly crumbly. Use an orangewood stick to gently slide away only the product that releases without resistance. If it does not move easily, rewrap the nail and wait another 10 minutes. Needing a second or third round is normal, especially with a thick set.
The distinction is simple: softened acrylic can be eased away; firm acrylic should be soaked longer. Never interpret resistance as a sign that you need more pressure.
Refine the surface gently
Once the acrylic is removed, there may be a small amount of softened residue. A fine buffer can smooth it away, but use very light pressure. Your natural nails may look temporarily dry or chalky after acetone exposure. That appearance is usually dehydration, not necessarily damage, and it improves with proper conditioning.
Wash your hands with a gentle cleanser, then apply cuticle oil generously. Massage it into the nail plate, cuticles, and surrounding skin before following with hand cream. This is the moment to restore comfort and flexibility, not to immediately begin another intensive manicure process.
When You Should Not Remove Acrylics Yourself
There are times when an at-home soak-off is not worth the risk. If you have pain, redness, swelling, bleeding, a green or dark discoloration, a strong odor, or visible separation between the natural nail and nail bed, stop. Do not cover the issue with polish or a new enhancement. Seek an experienced nail professional or medical advice when appropriate.
Professional help is also wise if the product will not soften with acetone. It may be a hard gel or another non-soak-off system that requires controlled filing. An e-file can be an excellent professional tool in trained hands, but it can create heat and over-file the nail plate when used without experience. This is one area where expert care offers a clear advantage.
At Rodeo Drive Beauty, a premium removal service is approached as a nail-health appointment, not an afterthought. Careful product reduction, hygienic technique, and tailored conditioning help leave the natural nails neat, comfortable, and ready for their next refined look.
Aftercare That Restores the Look of Natural Nails
After removal, your nails may benefit from a short reset before another extension service. How long depends on their condition. If they feel smooth and strong, a regular manicure, gel color, or a fresh set may be suitable soon after. If they are flexible, peeling, or sensitive, choose a restorative manicure and give them time without extensions.
For the next one to two weeks, apply cuticle oil at least twice daily and wear gloves for dishwashing, cleaning, or gardening. Water exposure and household chemicals can make already dehydrated nails feel weaker. Keep the nails short enough that they do not catch, and use a glass or fine-grit file rather than tearing a rough edge.
A strengthening treatment can be helpful, but it should not be used as a substitute for moisture. Some hardening formulas make brittle nails feel even less flexible if overused. A balanced approach of hydration, gentle shaping, and protection is usually more elegant and effective.
How to Make Your Next Acrylic Set Safer
The best removal experience starts at the application appointment. Choose a salon that follows strict sanitation practices, uses quality products, and does not over-file the natural nail during preparation. Ask for a length and shape that suit your lifestyle. Extremely long extensions may look striking, but they experience more leverage from everyday movement and can increase the chance of breakage.
Schedule maintenance before significant lifting appears. Fills are typically needed every two to three weeks, depending on nail growth and the set’s condition. Waiting too long can allow water and debris to collect beneath lifted areas, while trying to conceal lifting at home can lead to avoidable damage.
A flawless acrylic manicure should feel secure, balanced, and comfortable. When it is time to say goodbye to it, the same standards apply: patience, precision, and care for the natural nails underneath. Treat removal as part of your luxury nail ritual, and your hands will remain ready for whatever beautifully polished look comes next.
Leave a Reply